Race Your Savage X by Building the Ultimate Monster Truck Racer!
 |
|||
 |
 |
 |
|
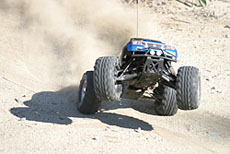
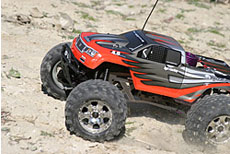
It's time for our latest set of tutorial instructions, this time featuring the Savage X 4.6 monster truck! Monster truck racing is still quite popular, and every racer is looking for the next fastest thing to add to their truck to make it quicker out of the corners, get a higher top speed, and get more traction in every situation.

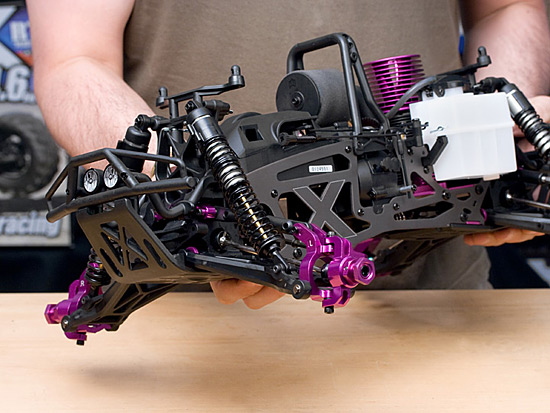
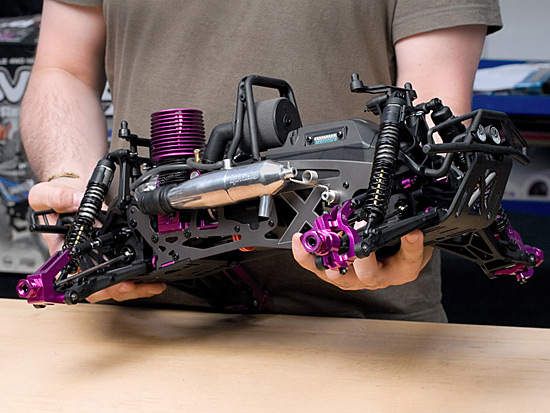
We'll start with a stock #868 Savage X 4.6. This is our latest powerhouse monster truck, designed for raw, aggressive power and featuring loads of options to beef up the standard Savage X drivetrain and performance. The X 4.6 has a 2.9 horsepower F4.6 engine for huge amounts of power, new red fibre disc brakes to bring it to a fade-free stop FAST, and alloy diff cases for extreme power handling. Being the 'X' type Savage, the truck comes standard with lightweight suspension arms, 4-gear diffs, 3-shoe PTFE clutch, 17mm hex hubs, stronger plastic uprights, dual-stage air filter, new style clutch bells, machined diff bevel gears, stronger skidplates, easily removable bumpers, horizontal-split transmission case, bellcrank servo saver, dual shocks at every corner, primerless 160cc fuel tank and much more...
All this makes the Savage X 4.6 a nimble and powerful monster truck racer, but like any stock machine it can be improved for ultimate racing performance!
How can this be accomplished, you ask? Here's a few things you
can ask your local model shop for on your next visit:
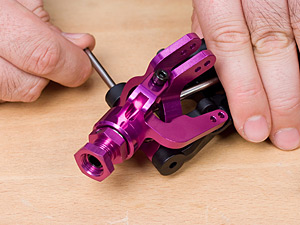
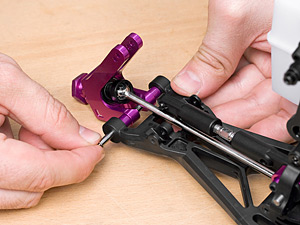
#87245 Savage Suspension
Conversion Set - this adds thick upper turnbuckles and
super-strong aluminium rear hub carriers, front steering knuckles,
front uprights and turnbuckle mounts, plus stainless steel outer
hinge pins. You can also adjust the wheelbase at the rear with the
included spacers.
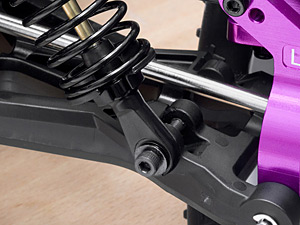
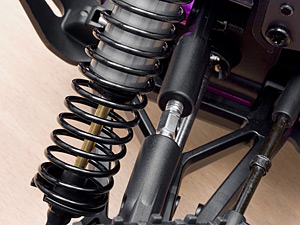
#A720 Big Bore Aluminium Shock Set - with extra oil capacity, these shocks really smooth out the rough stuff, keeping the tyres on the ground for maximum traction and control. These are progressive shocks with 2-stage springs, with ride height clips for super-fast adjustment. You only need one shock per corner with these fitted to the Savage!
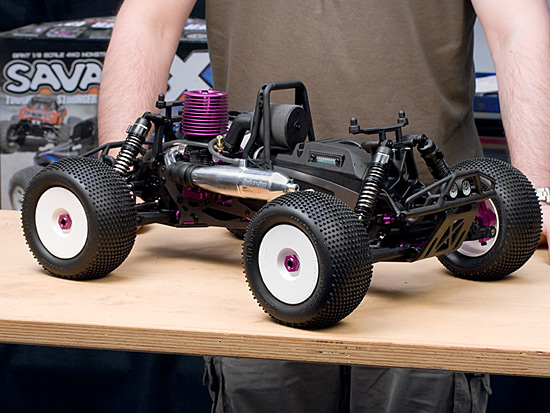
#87233 Nubz Conversion Set with 17mm UV Joints - not only do you get super-tough truggy-style 17mm anodized clamp hex hubs and thick axles, with this setup you get extra-strong universal joint driveshafts and the ultimate HPI monster truck racing tyres: Nubz! Low-profile square pins on race compound rubber and moulded inner foams fitted on aerodynamic dish wheels for a fantastic racing feel on just about every racing track.
#86399 Heavy Duty Heatsink Engine Mount - strengthening the engine plate while providing extra cooling area to keep the engine at its optimum operating temperature, this is a one-piece, billet-machined chunk of aluminium that is solid, light and extra-cool.
#86138 Polished Aluminium Tuned Pipe - For more power at the top end and massive head-turning sound, you'll want an aluminium dual-chamber pipe. The standard plastic pipe is dual-chamber as well, but the option pipe looks better and is definitely much louder!
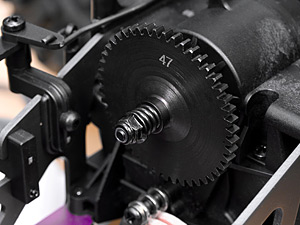
#77127 Heavy Duty Spur Gear 47T - the stock spur gear is plastic, which is nice and light in weight, but racers using the full power of the F4.6 engine need a bit of extra insurance on the track, and replacing the 47T plastic spur gear with the 47T Heavy Duty steel version is the first step in beefing up the drivetrain.
#77108 Racing Clutch Bell 18T - the steel spur gears must be used with our Racing Clutch Bells, so for the Savage X 4.6 Racer build we've gone with an 18T clutch bell for a bit extra top speed compared to the stock 17T clutch bell. The Racing Clutch range for the Savage allows you to fit different sizes of clutch bells, from 15 to 20 teeth, so you can choose the best combination for your track needs. The smaller clutch bells give you more acceleration at the cost of top speed, and larger clutch bells will let you hit higher top speeds, but your Savage will be a little slower out of the corners.
#2012 Hump Battery Pack for Receiver - it just won't do to run out of servo power when you're out on the track, so ideally you'll need a long-life rechargeable pack to power the steering and throttle servos. With the HPI 1200mAh hump pack for the Savage, you'll be able to run several tanks in a row without having to stop to change batteries!
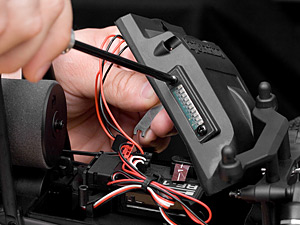
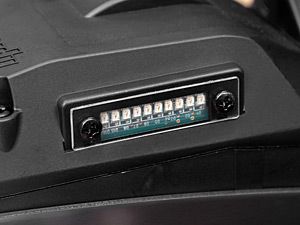
#308 Battery Level Indicator - when you're running a rechargeable battery pack, you'll want to know how much juice your pack has, and that's where the genius LED Battery Level Indicator comes in. Pull into the pits and peek under the body, and you'll know at a glance exactly how much power you have left, so you can plan a battery swap before you lose all power.
#80587 SF-2 Servo Metal Gear Conversion Set - most racers have their own preferred type of servo, so they'll swap out the stock SF-2 steering servo with their expensive digital, high-torque, metal-gear servo. However, not everyone has the cash to upgrade right away, so if you're going to race with the standard servo it's a good idea to upgrade it with the Metal Gear Conversion Set.
Finally, to fit the Big Bore shocks properly, get one pack each of Z547 M3x20mm Cap Head Screws and Z224 M3x8mm Washers. You'll need four each of the screws and washers.
Make sure that you are careful when using sharp objects such as the cutting blade and screwdrivers. Children should have adult supervision and guidance.
So we start with the stock Savage X 4.6, with all of its standard beefed-up dimensions and drivetrain parts. It's a great starting point, but let's get building!

The first several steps involve removing the engine and installing a few things on it, and changing out the spur gear.
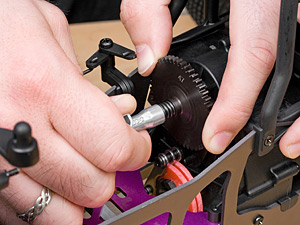 |
Installing the heavy duty spur
gear Every HPI spur gear comes with a fresh new slipper pad, before attaching it use some motor cleaner spray and a rag to clean any oils off the new spur - this lets the slipper pad glue grip the metal surface as much as possible. Before removing the old spur gear, measure the length of the slipper spring and use the HPI cross wrench to secure the locknut in position, pushing the spring down until it matches the previous spring length. |
 |
|
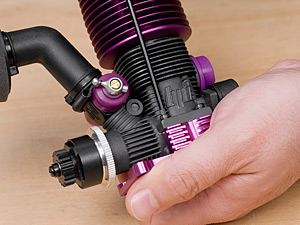 |
Attaching the one-piece engine
mount Use a good-quality hex wrench to securely attach the engine to the new one-piece engine mount. You shouldn't need a ball wrench, a normal straight hex wrench will work fine. If you're going to replace the engine's heatsink head, now is the best time to do so. |
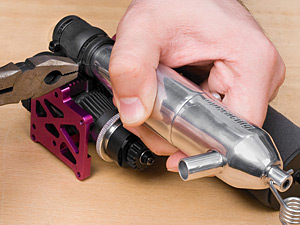 |
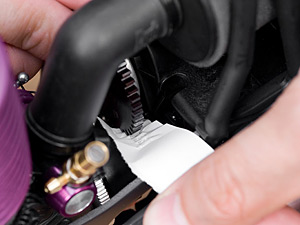
Installing the new tuned pipe Cut off the nylon strap holding the stock tuned pipe, and slip in the new aluminium tuned pipe. Get a good grip on the new strap by using a pair of pliers to pull as tightly as possible. The strap won't be the only thing holding the pipe in place, but you don't want the silicone connector to get loose! |
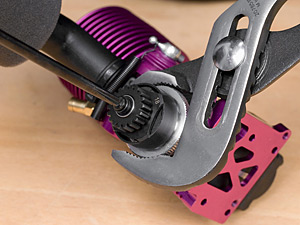 |
Attaching the flywheel
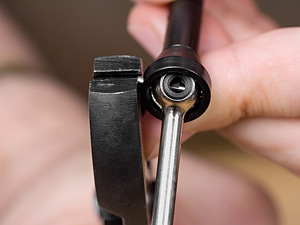
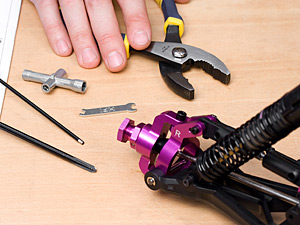
properly Use large adjustable-grip pliers to hold the flywheel in place, and remove the stock clutch bell. Replace with the new heavy duty clutch bell and tighten the screw down. Use some of the blue thread lock from the Nubs UV Joint set to make sure the clutchbell screw doesn't come loose. If you wanted to replace the clutch shoes with our #87196 Aluminium Clutch Shoes or the #86391 Heavy Duty Aluminium Clutch Shoes, now's the time to do it! |
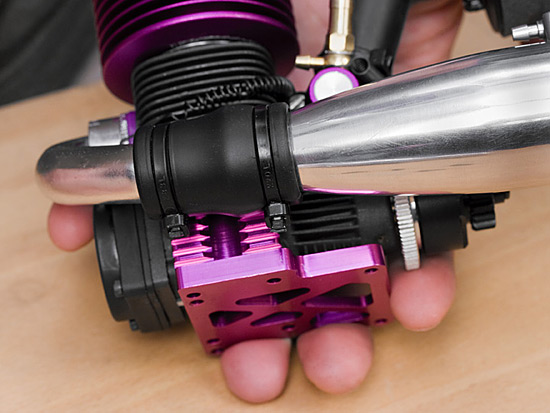
Finished with the engine!
There you go, the finished engine set up! Fit it back in place and put the engine mount screws in a bit, but don't tighten them down all the way yet. Make sure you're using the threadlock again.

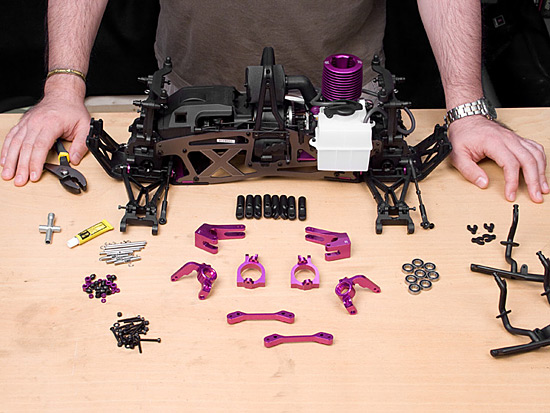
There we are, your Savage is stripped down and ready for some alloy action!
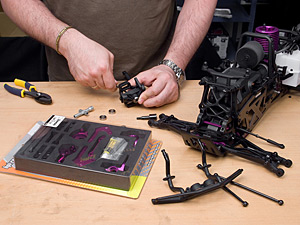
Everything ready to assemble
There are all the parts waiting to get fitted. Make sure you have a
sharp hobby knife or rotary tool ready for the next part, and read
through the instructions first before starting. Some installation
steps are different between the Savage and Savage X, so make sure
you know what's coming next when you're assembling everything.
99% done...
There we are, nearly complete! Just need to add the wheels...
Ready to go!
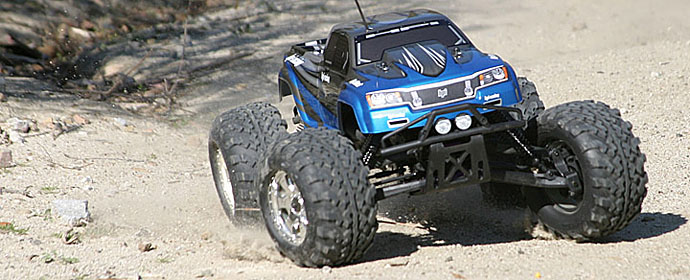
With the Nubs securely bolted on, this Savage X 4.6 is ready to
RACE! Now you just need to fit on a sleek racing bodyshell like the
#7196 Ford F-150 or #7194 Nitro GT-2, or go for a quick and easy
pre-painted Nitro GT-1 design like the #7752 black/metallic grey/metallic smoke, #7754 metallic grey/silver/metallic blue or
#7753 metallic grey/black/red designs!
We hope you've enjoyed this upgrade tutorial. If you want to order the parts used here, just contact your local model shop and ask them to order the HPI part numbers listed at the beginning.
